
Basics
Developer Resources#
User Documentation#
- Tutorials
- Applications
- Addons
- Accounting (AT) – SKR 07
- Accounting (DE) – SKR03
- Accounting (DE) – SKR04
- Account (ES) – PGC
- Algolia Search
- Amazon Selling Partner API
- Angular Shop
- Apache Camel
- CAS Single Sign-On
- Data Category Tree
- DHL DE
- DHL International
- Excel Import/Export
- Facebook Conversions API
- Facebook Login
- Fresh Relevance
- Google Shopping
- Lightning (Bitcoin)
- LinkedIn Login
- Mailchimp
- Maileon Integration
- Matomo Analytics
- Magnolia Connector
- OpenAI / ChatGPT
- PayPal
- Project Manager
- Point of Sale (POS)
- Redsys
- SAP OCI
- Shop (DE)
- Stripe
- Theme – Bootstrap Material Admin
- Theme – Ignite Admin (Bootstrap v4)
- Theme – Ignite Shop (Bootstrap v4)
- TinyPNG
- Twitter Login
Recent News#
- New: Maileon Integration Addon
- Scipio ERP 3.0.0 Released
- Punch-out Catalogs via SAP OCI
- New: TinyPNG added as compression service
- New: DHL International Shipping
Basics#
So you want to get started with Scipio ERP – that’s great! Perhaps we can make it all a bit easier for you. So here’s a list of the most common questions – feel free to click through at your own liking:
Login & Logout#
To access the system, open up your web-browser and login. On a typical Scipio installation, all you need to do is to type in one of the following URLs. Please ask your system administrator for the “domain” the system is running on. If you happen to have a local installation running, use “localhost:8443” instead.
Accounting
https://<domain>/accounting/Asset Maintenance
https://<domain>/assetmaint/CMS (coming soon)
https://<domain>/cms/CRM
https://<domain>/crm/Catalog Management (PIM)
https://<domain>/catalog/Human Resource Management (HR)
https://<domain>/humanres/Manufacturing
https://<domain>/manufacturing/Order Management
https://<domain>/ordermgr/User Management
https://<domain>/partymgr/Web-Shop
https://<domain>/shop/Facility & Warehouse Management
https://<domain>/facility/Admin (for developers & system administrators only)
https://<domain>/admin/
You should be greeted by a login form, like the following:
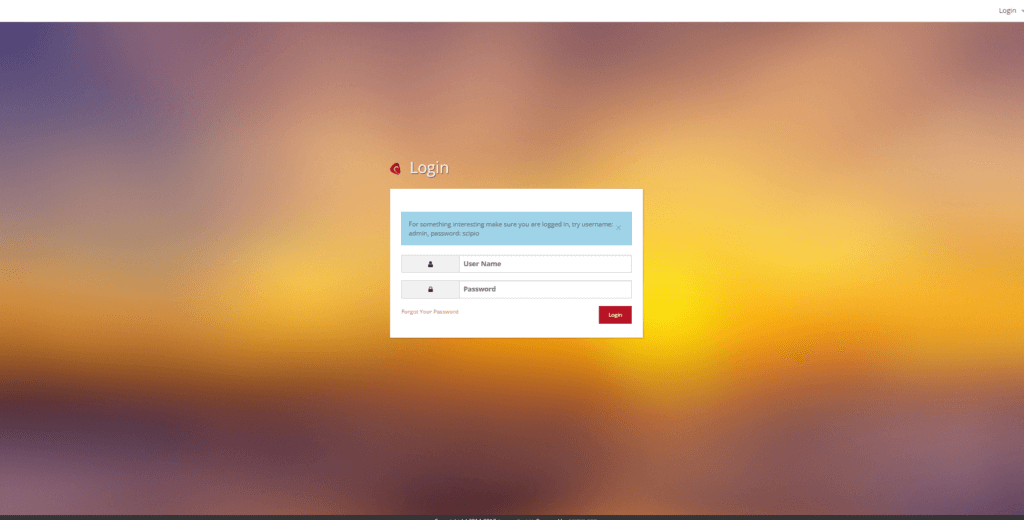
The screen itself may differ depending on your installation, but don’t let this confuse you. Enter your login-credentials and you should be good to go. Ask your system administrator for your login details – if your company uses a centralized login system, you may already be authenticated, once you access the page. The login screen should not be visible then.
On a demo installation you can use:
username: admin
password: scipio
Language Selection#
Once you have completed your work, it is important to log out of the system, so that nobody can mess with your account.
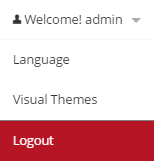
To logout, click on the User-Menu in the top-right corner of the screen and select “Logout” from the now visible menu. You should be signed off automatically and be transferred back to the login screen.
If you cannot find the menu, or have trouble finding the correct location, simply type in the following URL in your browser-bar:
https://<your-domain>/<application>/control/logoutNavigation#
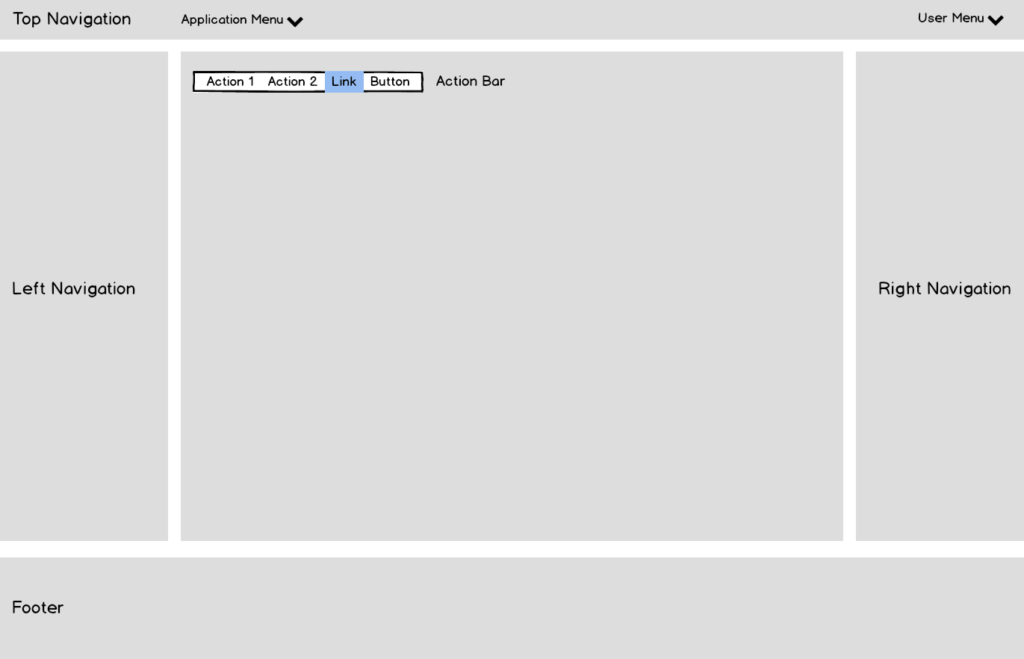
Finding your way around the software is super important. So to get to the right location efficiently, we have standardized our navigation throughout the system, as is pictured in the drawing above. Not pictured are the breadcrumbs and Messages, which will be displayed, depending on the screen.
Just by these groups we can easily distinguish between the following navigation options:
Top Navigation#

- Contains:
- User-Menu
- Application-Menus
- Function:
- Select applications
- Direct Access to User-Settings
- Language Selection
- Visual Theme Selection
- Help
- Login/Logout
Left / Right Navigation#
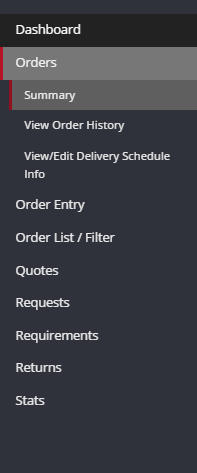
- Contains: Navigation inside of an application
- Function:
- Screen Selection
- Sometimes: Access to context-specific sub-screens (e.g.: Product specific information)
Action Bar#

- Contains: Quick Links & Action Buttons
- Function:
- User Input
- Content specific links
Breadcrumbs#

- Contains: Location inside of the application in reference to the “dashboard” screen
- Function:
- Navigational support
Messages#

- Contains: System Messages in response
- Function:
- Inform user about system updates
- Inform user about result of his actions
Theme Selection#
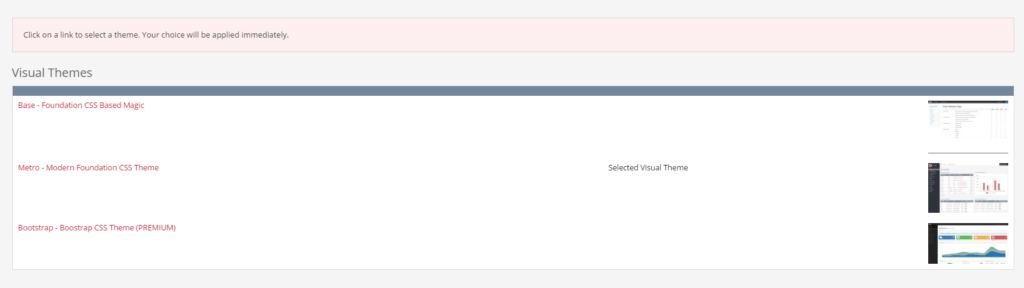
Don’t like the look and feel of the system? Then perhaps a change of “themes” is the answer. Themes are essentially what determines the look-and-feel of the entire system. They determine how you navigate and how things are displayed. Scipio comes with a great variety of themes
and it is quite easy to add your own
. So perhaps, a different set of visuals is better suited for you.
To change the visual themes, click on the User-Menu in the top-right corner of the screen and select “Visual Themes” from drop-down menu. From there, you can select the theme that fits you best.
If you cannot find the menu, or have trouble changing the language, simply type in the following URL in your browser-bar:
https://<your-domain>/<application>/control/ListVisualThemesLanguage Selection#

The user language is determined by your account – and if it isn’t actively set, the system will make a guess based on your browser settings. All aspects of the applications can be localized and we are providing translations for the following languages:
- Chinese
- Dutch
- English
- French
- German
- Hindi
- Italian
- Portugese
- Spanish
To change your current language, click on the User-Menu in the top-right corner of the screen and select “Language” from the now visible menu. From there, you can select the language of your liking.
If you cannot find the menu, or have trouble changing the language, simply type in the following URL in your browser-bar:
https://<your-domain>/<application>/control/ListLocalesLanguage-Select is available within all standard applications.
It is possible, that the way things are displayed, or the available languages may differ from our screenshots. In this case, please contact your system administrator about the available options for you.