Pages
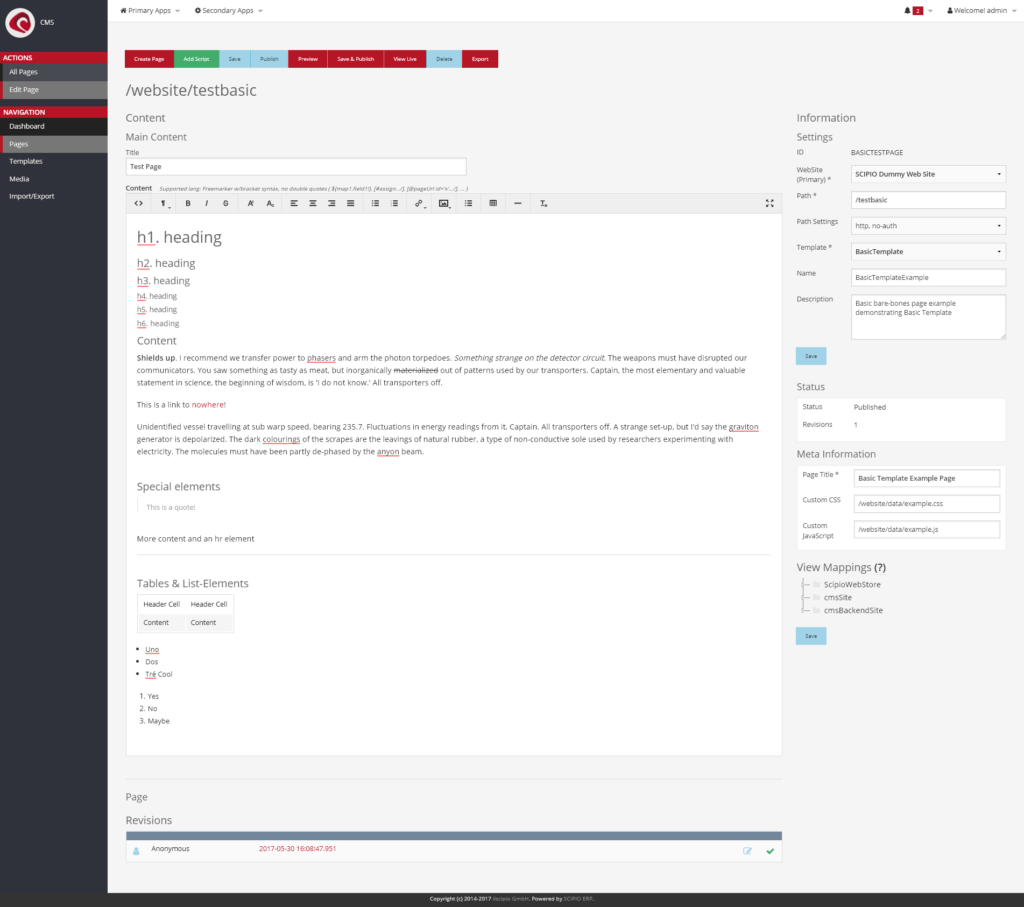
Page Editor
Pages in Scipio can either be managed through the dashboard of the cms application (“CMS » Dashboard”) or the pages section (“CMS » Pages”), where a specific lookup form is also available. Pages can exist for all Webapps containing a WebsiteId as a mount point. By default, the shop and cms component each have a website setup to be edited. This should be enough for most users to get started.
Pages are a combination of:
- Content
- The information to be displayed inside the different sections of a website
- General Settings
- Path settings, selected template, Page name, page description
- Status & Revisions
- Publication status, number of revisions
- Meta information
- Custom variables defined by page template, such as custom css, custom js etc.
- View Mappings
- Override of controller entries
To add a new page, click on the “Create Page” button on the pages overview or select a node on the dashboard content tree and select “new” from the action navigation to the right.
Content
All content can be edited through short input fields or WYSIWYG (What You See Is What You Get) editors. The templates define which parts of the sections can be edited.
Text
The WYSIWYG are easy to use, support most of the text styling options people are already familiar with from their desktop word processors and give the option to switch back and forth between html & text view.
Media files
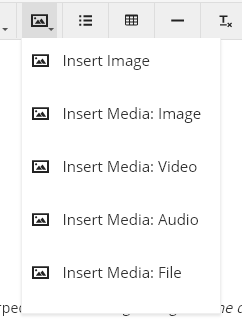
Templating toolkit
The tech-savvy among us can use the templating toolkit inside the content editor as well. Although no code highlighting will exist, the code will be interpreted during page rendering. This is often beneficial, when special layout options or features are desired, but a new asset or page template would be too limiting for the editor (e.g.: a slider element, popups or similar).
All freemarker code has to be inserted with bracket syntax, double quotes are not support. (e.g.: ${map1.field1!}, [#assign…/], [@pageUrl id=’x’…/], … ). Example code:
[@section]
    [#-- This slider based on: component://shop/webapp/shop/dashboard/slider.ftl --]
    [@slider id='' controls=true indicator=true]
        [@slide link='#' image='https://source.unsplash.com/random/1330x480']What is the strength of the ship's deflector shields at maximum output? The wormhole's size and short period would make this a local phenomenon.[/@slide]
        [@slide link='#' image='https://source.unsplash.com/category/nature/1330x480']According to coordinates, we have travelled 7,000 light years and are located near the system J-25.[/@slide]
    [/@slider]
[/@section]
Settings & Meta Information
The right hand side of the page editor displays general page settings. Each page requires a set of basic configurations, which can be configured through the fields displayed in this location. The website and path make up the overall url (which is also displayed on top of the page). The template defines the overall layout and content fields the content editor displays. A general Name and description can also be added to make it easier to find the page in the search lookup.
Some page templates contain additional variables that can be edited by the editor. Most often these are html meta information such as a page title, additional style sheets or java script that should be loaded in addition to what the template contains.
Status & Revisions
A versioning & publication system is built into the cms, so that users can work with pages before publication. Each time the save action is called, a new version of the page is created. The revisions table at the bottom of the Page Editor gives access to all page revisions. Each revision can be restored and activated, so that it is possible to undo previous errors.
Additional Information
Learn how to create a new website mountpoint
        A unique ID used to look up the WebSite entity
        webSiteId
        ScipioWebStore
2. Add a new Website entry to the Website entity:
<?xml version="1.0" encoding="UTF-8"?><entity-engine-xml>
    <WebSite createdStamp="2017-05-30 16:07:34.886" createdTxStamp="2017-05-30 16:07:34.856" lastUpdatedStamp="2017-05-30 16:08:44.29" lastUpdatedTxStamp="2017-05-30 16:08:44.134" productStoreId="ScipioShop" siteName="SCIPIO Dummy Web Site" visualThemeSelectorScript="component://common/webcommon/WEB-INF/actions/includes/GetWebSiteStoreVisualThemeId.groovy" visualThemeSetId="ECOMMERCE" webSiteId="cmsSite"/>
</entity-engine-xml>